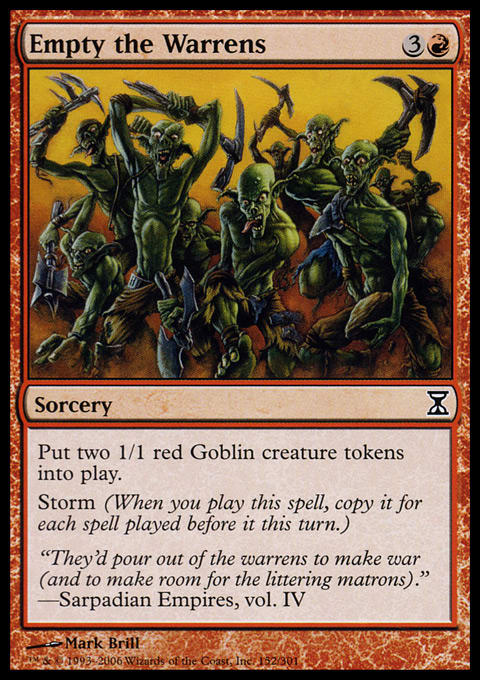
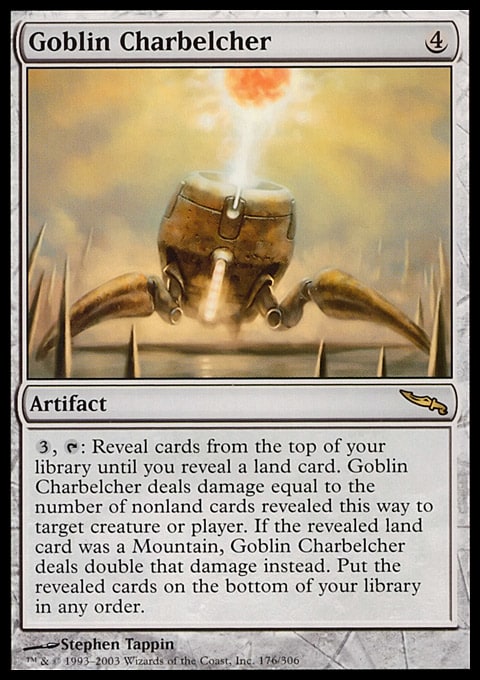
Belcher is a combo deck built around its namesake Goblin Charbelcher. It's primary strategy is to get the Charbelcher in play and tapped as fast as possible, insuring the demise of the opponent due to the insanely low land count in the deck—it runs only zero, one, or two lands. The deck also runs Empty the Warrens as an alternate win condition because of the inherent nature of the deck—it can cast as many as seven spells on turn one, creating a healthy number of 1/1 Goblins. The deck boasts an impressive turn-one-win rate (or virtual win in the case of Empty the Warrens). Before we go too much in depth, let me show you a basic list. There are other ways of building this deck, but let's focus on one for this article.
"Basic One-Land Belcher "
- Creatures (12)
- 4 Elvish Spirit Guide
- 4 Simian Spirit Guide
- 4 Tinder Wall
- Spells (47)
- 4 Desperate Ritual
- 4 Pyretic Ritual
- 4 Seething Song
- 3 Empty the Warrens
- 4 Burning Wish
- 4 Gitaxian Probe
- 4 Land Grant
- 4 Rite of Flame
- 4 Chrome Mox
- 4 Goblin Charbelcher
- 4 Lion's Eye Diamond
- 4 Lotus Petal
- Lands (1)
- 1 Taiga
- Sideboard (15)
- 4 Xantid Swarm
- 4 Pyroblast
- 1 Flame Rift
- 1 Empty the Warrens
- 1 Goblin War Strike
- 1 Infernal Tutor
- 1 Pyroclasm
- 1 Reverent Silence
- 1 Shattering Spree
How Does It Work?
The deck is basically made up of 82% mana sources and 18% win conditions. The deck has three primary paths to victory: counting to 7 mana for the Belcher win, counting to 6 mana for the Burning Wish to Empty the Warrens, or simply generating as much storm as possible for the Empty the Warrens win. The foundation of the deck is consistency. The deck wants to play one of these three routes to victory on turn one every game, and it is built in the way that best enables that goal.
When and Why Should You Play It?
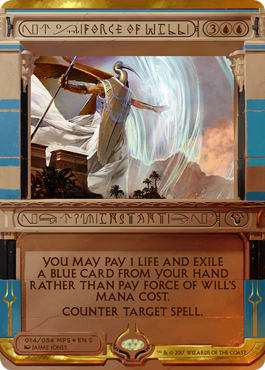
The current metagame in large tournaments, I feel, is a golden opportunity for Belcher to rock the field. Why? It is infested with blue-hating decks (Maverick), against which you can just win straight-up on turn one, and it also features an incredibly popular deck (Esper-Blade), which is a permanent-based control deck that, to my surprise and delight, cuts Force of Will down to two or three. There is the additional factor of a lot of free time. When you play Belcher, you'll notice that rounds only take five to fifteen minutes. This gives you a ton of time to eat, rest, scout, and even play Commander between rounds—an experience that almost no other Legacy deck can match.
How to Mulligan with the Deck
The number one thing that you have to understand in order to play this deck is how to mulligan. The deck is constructed so simply that it makes mulligan decisions so much easier, but at the same time, you have to train yourself to follow the optimal mulligan plan by the numbers. These are the basic hands. (Keep in mind that these are basic situations and that these do not cover post-sideboarded games.)
Snap Mulligans
- Hand with seven mana sources. Example: Tinder Wall, Elvish Spirit Guide, Lion's Eye Diamond, Chrome Mox, Rite of Flame, Seething Song, Lotus Petal
- Hand with the ability to produce 3 mana or less and three or more win conditions. Example: Elvish Spirit Guide, Taiga, Land Grant, Lotus Petal, Burning Wish, Goblin Charbelcher, Empty the Warrens
- Hand with free cantrips but no win conditions. Example: three Gitaxian Probe, Land Grant, Lion's Eye Diamond, Lotus Petal, Rite of Flame
- Hand with Empty the Warrens but that is only able to generate four storm or less. Example: Empty the Warrens, three Elvish Spirit Guide, Lotus Petal, Taiga, Land Grant
Situational Mulligans
- Hand with no initial mana sources (0-mana mana sources) and at least 1 win condition. Example A: Pyretic Ritual, two Desperate Ritual, Seething Song, Lion's Eye Diamond, Empty the Warrens, Burning Wish. Example B: Rite of Flame, Pyretic Ritual, Desperate Ritual, Seething Song, Lion's Eye Diamond, Empty the Warrens, Burning Wish
Snap Keep
- Hand with one or two win conditions and all the mana needed to cast said win condition. Example: Lotus Petal, Elvish Spirit Guide, Tinder Wall, Land Grant, Goblin Charbelcher, Lion's Eye Diamond, Chrome Mox
- Hand with one or two win conditions that’s only 1 or 2 mana short of outright winning. Example: Lotus Petal, Elvish Spirit Guide, Rite of Flame, Pyretic Ritual, Seething Song, Goblin Charbelcher, Goblin Charbelcher
The hands marked as situational mulligans are more situational. You will need to look at the hand and judge whether it has an okay chance of going off. Hand A should be mulliganed. It is lacking both an initial mana source and a secondary mana source. You will need to draw two cards in order to be able to go off. This means your win will be delayed by at least two turns on the play, which is not great—you’re giving other players the time to dig for answers. Hand B is okay because you are only lacking an initial mana source, which you have a 40% chance of drawing, so you are likely to be able to go off on turn two on the play or turn one on the draw, which is acceptable.
The snap-keep hands are marked such because they will win the game outright. (Hand 7 is a snap keep because your deck has a four-to-one mana-to-win-condition ratio, so you have a very high chance of just winning after your next draw.)
You should mulligan aggressively, but stop mulliganing at five cards. The deck can still easily win with five cards, but with four and fewer, it’s massively harder to pull off the win.
How to Play the Deck
Gitaxian Probe should always be cast before anything else. It will give you perfect information of the opponent's hand and let you know what options are available to your opponent before you choose the plan for your victory. Land Grant is a double-edged card. What it does for you is drastically reduce the number of lands needed in the deck. Casting Land Grant means that Goblin Charbelcher is a certain kill once activated, but Land Grant has the significant effect of granting your opponent perfect information about your hand. Once you cast it, a good opponent will be able to figure out how best to disrupt your game plan. Most of the time, you should just cast Land Grant, but in situations where you do not need to, you shouldn't cast it.
The Empty the Warrens game plan is simple, too. Chain together spells to create a high storm count and cast the Empty the Warrens for a barrelful of Goblins. This is your most powerful weapon against Force of Will decks. Most Force of Will decks will hold the card, waiting for either a Burning Wish or a Goblin Charbelcher. A Empty the Warrens at the right moment can just render a Force of Will worthless. This is a major reason you should be careful about giving your opponent free information with Land Grant.
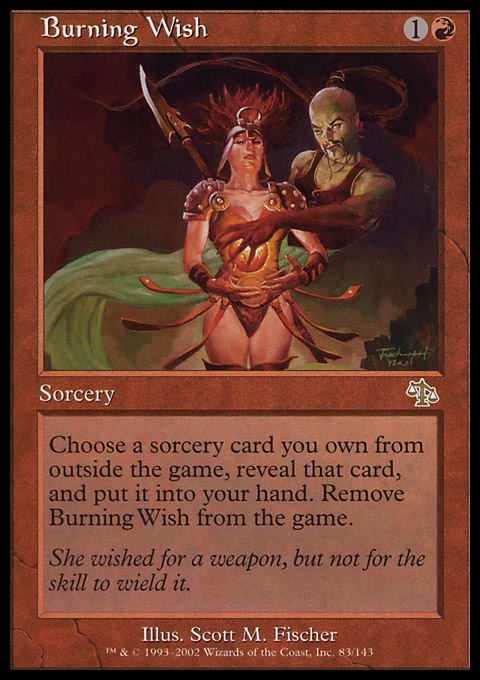
First, play out all your mana producers, leaving Burning Wish to be the last card in your hand. When you are ready to cast the Wish, you cast it, then announce, "I'm holding priority, then in response to the Burning Wish, I activate my Lion's Eye Diamond." This means you will discard your hand while Burning Wish is on the stack. After you make 3 mana, the Burning Wish will resolve, putting a card from your sideboard in your hand. This card should be always either Empty the Warrens or Infernal Tutor.
To decide which one, first count your mana left after the Burning Wish is cast. If you have 4 or 5 mana, grab the Empty the Warrens and cast it. If you have 6 or 7 mana (including black mana and with no cards in your hand,), find Infernal Tutor and cast it to tutor for an Empty the Warrens. If you have 8 mana (including black mana and with no cards in your hand), find the Tutor, use it to find another Wish, and then use that to find Empty the Warrens. If you are lucky enough to have 9 or more mana floating after the Wish, find Infernal Tutor and tutor for Goblin Charbelcher and just kill your opponent.
Burning Wish also serves a critical secondary function. If you already have a win condition in your hand other than the Burning Wish and you are stopped from winning due to hate cards on the board, you can use the Wish to grab the card that eliminates your problem from the sideboard. For example, your opponent may have a Gaddock Teeg active on the board. You can grab a Pyroclasm to kill the Teeg before going off.
There is also a third function: You cast Empty the Warrens and attack your opponent once, bringing him to low life total. You can cast Burning Wish to find either Flame Rift or Goblin War Strike to kill the opponent without waiting longer.
Post-board Games
Game 1 should be conquered easily, but it becomes more difficult for you to win in Games 2 and 3 against blue-based decks. This is why you see eight control-hating cards in your sideboard. People often are not sure what to cut for the Xantid Swarms and Pyroblasts (Pyroblast is superior to Red Elemental Blast because it can be cast targeting a nonblue spell to increase storm count). Against blue decks, you will want to cut four Gitaxian Probe (they’re worthless—you should know what his deck is by now) and four Seething Song (they’re the weakest part of the deck—once countered, you will always fizzle) and bring in Blasts and Swarms. Against nonblue decks or fellow combo decks, you will not need to do anything with the sideboard in Game 2. If it turns out your opponent has a Mindbreak Trap or a free counterspell of some kind in Game 2, you should board in Xantid Swarms only, cutting the Probes.
Variants
There are three major variants to Belcher: zero-, one-, and two-land versions. The most common variant is the One-Land Belcher shown above. My preferred version is the Two-Land Belcher deck.
"Two-Land Belcher"
- Creatures (12)
- 4 Elvish Spirit Guide
- 4 Simian Spirit Guide
- 4 Tinder Wall
- Spells (46)
- 4 Dark Ritual
- 4 Manamorphose
- 4 Seething Song
- 3 Empty the Warrens
- 3 Infernal Tutor
- 4 Burning Wish
- 4 Land Grant
- 4 Rite of Flame
- 4 Chrome Mox
- 4 Goblin Charbelcher
- 4 Lion's Eye Diamond
- 4 Lotus Petal
- Sideboard (15)
- 4 Xantid Swarm
- 3 Duress
- 1 Flame Rift
- 1 Empty the Warrens
- 1 Goblin War Strike
- 1 Infernal Tutor
- 1 Grapeshot
- 1 Tendrils of Agony
- 1 Hull Breach
- 1 Past in Flames
The other variant is Zero-Land Belcher, which takes One-Land Belcher and replaces Land Grants with Chancellor of the Tangles and replaces the Taiga with one Manamorphose. This offers the advantage of making sure the opponent does not receive perfect information, and it powers up the Charbelchers drastically. The disadvantage is that you sometimes will choke on red mana to start the ritual chain, and your storm is reduced for Empty the Warrens. In extreme situations, the Chancellor can be hard-cast, though, which is not too shabby.
Last Notes on the Deck
- A common source of confusion is what happens if no lands are in your deck and you activate Goblin Charbelcher. The answer is found in Rules 103.3 and 416.3, which in summary, mean that even if one part of an effect fails, the other parts will try to do as much as possible. Revealing the land is just a stop condition—it's not a requirement to deal damage (it doesn't say, "If you reveal a land . . . " ), which means that you deal damage equal to how many cards are left in your deck and that you get to arrange your deck in the order that you want. (Suggestion: Put Lion's Eye Diamond on top.)
- One major thing that you will notice is that sometimes Belcher will not kill the opponent because a land is revealed early. This is the reason you should make the effort to Jedi mind trick your opponents into scooping whenever possible. Make 7 mana, cast and activate Belcher, and then ask your opponent, "Game?" before flipping any cards over. Against smart opponents, this will not work, but some people will scoop.
- When asked how many lands you run, always respond, “Zero.” You don't need to tell the truth about hidden information.
- Be careful to make sure you produce the correct colors of mana; you do not want to pop a Lotus Petal for red and be stuck with an uncastable Tinder Wall in hand.
- Elvish Spirit Guide and Simian Spirit Guide are uncounterable, and they do not count toward storm.
- Chrome Mox can be cast without anything imprinted on it to increase storm.
- Sometimes you can hit 4 mana with at least three mana sources that stay in play (two Chrome Moxes and one land). If so, you should drop the Belcher, pass the turn, and just win on your next turn.
- Do not be afraid to simply say "go" on your first turn if you're on the play.
- Bring food and a book to read to tournaments at which you play Belcher. You will have a lot of free time on your hands.
Thanks for reading! I hope you all come away from this article with a much greater understanding of the function of Belcher!
Keep Belching.
– Ando
@skywingando on Twitter