Last week, Drew Levin wrote about defining archetypes (in particular, aggro control) within context here (SCG Premium). Drew got a lot right, and I always love articles about Magic theory, but I believe that Drew’s misclassification of two decks, Faeries and Caw-Blade, reveal a slight misunderstanding of what is going on. I don’t think there’s anything malicious or harmful there, but I would like to set the record straight while, in the process, looking at the source of both of these articles: Adrian Sullivan’s The Strategic Moment.
Sullivan’s article is one that doesn’t receive enough credit in the Magic community. It is most definitely among the five most important articles for understanding how this game functions. I’m of the belief that few people understand this game as well as Adrian Sullivan, and if you are genuinely curious as to how to model Magic as a game, Adrian is your man. Now let’s talk strategic archetypes. The following circle is the heart of Adrian’s article.

All of these terms (except maybe hybrid control), should be familiar to Magic players, but what is the implication of understanding this strategic archetype circle? Before we get into that, we have to talk about strategic-level deck construction and interaction for a bit.
To understand strategic-level deck construction, the most important thing to realize is that there are effectively three axes any given deck can interact on: momentum (really velocity/inertia), time, and board position. However, not all of these are created equal. The primary interactive axes are time and board position. Momentum’s influence on the picture will become clear later. The nice thing about Adrian’s circle is that it largely shows this principle in action. As you move on the circle from aggro to control, archetypes that interact more with time are on the left side, whereas archetypes that interact more with board position are on the right. We’ll talk about how momentum plays into this in bits and pieces.
Let’s start with some working definitions. What’s important to remember is that what we are trying to look at is not how a deck wins the game (that is largely irrelevant) but the strategic space the deck occupies with respect to its game plan. In other words, how is the deck seeking to interact with its opponent’s time, momentum, and board position with respect to the general progression of a game of Magic? What is important here is to look at how each individual strategy deals with the standard development within a game of Magic—in other words, how each strategy interacts with stage theory.
With that out of the way, let’s look at each of the various archetypes and define the strategic space they occupy.
Aggro
This is why, for example, the “aggro” label within the circle can cover decks ranging from mono-red to Dredge to Tendrils combo. All of these decks have fundamentally different game plans, but they interact with time, board position, and momentum in very similar manners. All of these decks are generally concerned with doing their own things. Their preferred and designed states are those in which they aren’t disrupted. They will handle disruption, but that is a deviation from their designed path and intention.
Aggro Control
Aggro control is concerned with establishing and protecting a small clock by denying an opponent time. Aggro control is far less concerned with the exact board situation as it is the opponent’s developmental state (or stage, if you prefer). In order to hamper an opponent’s development into higher stages of the game, the aggro-control deck seeks to place disruptive spells at critical moments, forcing a player to spend additional resources to redevelop. The aggro-control player uses that time (in the form of respent mana) in conjunction with whatever clock he or she has established to kill the opponent.
Aggro control tends to (but does not always) rely on velocity to accomplish this, either to establish its own clock (e.g. Merfolk) or to establish a critical mass of disruptive spells pointed at various locations in opponents’ development (e.g. R/U/G Delver). Unlike many more aggressive options, aggro control is concerned with how it interacts with you as much as, if not more than, it is concerned with how you interact with it.
Midrange Beatdown
Midrange beatdown is concerned with managing the board state in a proactive manner. Midrange beatdown decks, in general, seek to establish a board presence in the early to middle stages of the game and then manage your board presence enough to overwhelm you. Strategically, they are not concerned with hampering your development, but with their own deck’s ability to resist and/or play through critical defensive spells such as Day of Judgment (e.g through burn, undying, etc.). Like aggro decks, midrange beatdown attempts to force you to play on its terms. In other words, midrange beatdown seeks to assemble a clock that has enough inertia to resist your attempts to counteract it.
Hybrid Control
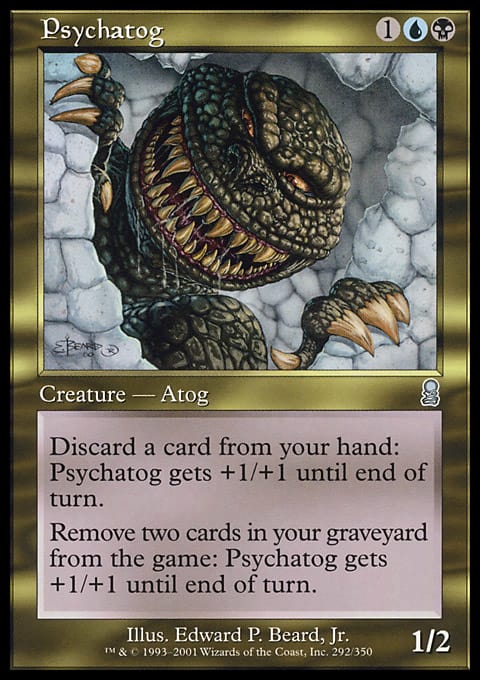
Let’s take a look at both of the examples, beginning with Psychatog. Psychatog may seem like a pure control deck, but in reality, it isn’t. This is because Psychatog doesn’t need inevitability, and thus, the goal of Psychatog is not to build inevitability. Psychatog’s strategic goal is to maneuver itself into a position where it can seize complete time control of the game by resolving Upheaval floating ![]()
![]()
![]() . What the position is before this is completely irrelevant, because by resolving Upheaval with
. What the position is before this is completely irrelevant, because by resolving Upheaval with ![]()
![]()
![]() floating, ‘Tog seizes complete control of the game with an overwhelming time advantage.
floating, ‘Tog seizes complete control of the game with an overwhelming time advantage.
Take Pickles as another example of this on the other end. Pickles may seem more like a midrange deck, but in reality, Pickles was seeking to do much the same thing as Psychatog. In order to win, the Pickles player had to maneuver the opponent into a position where it could execute the Pickles lock and the opponent was tapped down. If Pickles didn’t do this, it was very likely that the opponent would simply break out. The opponent needed to be tapped down so that not only was the lock an element of board control, but it was an element of time control as well. This time control is what allowed the Pickles player to beat down with 10 power worth of guys and close the game out.
Faeries is a good example of hybrid control, but that deck will be discussed in more detail later.
Midrange Control
Midrange control seeks to have as many profitable interactions as possible with the opponent’s board state. Rock decks are a good example of this, but they are not the only example. Midrange control is frequently completely unconcerned with hampering your development and intends to win on the board in every respect. These decks focus almost entirely on winning protracted battles of attrition by generating board advantage in a wide variety of manners. Midrange control frequently generates a substantial amount of inertia because its individual card value tends to be very high. It will parley this inertia into victory when you inevitably are forced to resist/fight it and your resistance is simply shrugged off.

There is a fundamental difference between discard and counterspells, however. Counterspells always carry some time denial with them as well, whereas discard only occasionally does. Let’s just look at an example:
I Thoughtseize you on turn two and see Blightning and Sprouting Thrinax, both of which you can cast. No matter which of the two I take, you are allowed to cast the other one on your third turn. I’ve denied you one of the two spells, but you have still been allowed to develop your resources in an organic, unrestricted manner.
Now consider the difference between that and what happens when I Mana Leak your turn-three Blightning. Not only have I denied you the Blightning (the same as if I made you discard it), but I have cost you the 3 mana you spent to cast it. This time cost is the development point at which you could cast Sprouting Thrinax in the Thoughtseize scenario. Thus, not only has my Mana Leak served a spell-denial function, but it has also served as time denial at the same time.
Control
Because of this, control generates a substantial amount of inertia. As the game goes on, resources will dwindle, and this as a whole benefits the more powerful defensive spells. If both players have similar numbers of cards and sufficient resources (time and mana) to deploy them, the defender holds a substantial advantage. This means that any focused offensive maneuver, either on the board or with respect to time, can be much easier to deny with the control deck’s more powerful defensive spells.
In addition, control decks tend to focus on drawing cards. This will usually result in a situation in which the control deck not only has the defender’s advantage, but it also have more resources to work with (due to having drawn more cards). Once the game reaches this point, it is very difficult to make any forward progress, and how the control deck seeks to win is largely academic.
Occupying Strategic Space
So, why is it important to understand this sort of thing? Why do we need to understand the strategic space a deck occupies? Is one strategic space better than another?
We’ll start with that last question. No, there is no inherent advantage to occupying any strategic space. Every space comes with its own strengths and weaknesses. What is important, however, is the relative space you get into. Most decks spend a lot of the game interacting with each other, and the ability to execute within your own strategic space (cover your own weaknesses and use your strengths to exploit your opponent’s weaknesses) is what will lead you to victory.
- Enhance your ability to take advantage of your existing strategic space
- Change your strategic space completely
Option 1 is far more common because you only have fifteen cards in your sideboard. Option 2 is what’s mostly seen when a transformational sideboard occurs. It can be accomplished other times, but those are rare. Naturally, this leads to a question: Why is it important to maintain your own strategic space?
The answer is simple. Due to the nature of deck design and the focus required, most decks do not have the ability to execute a focused game plan in multiple strategic spaces. The vast majority of cards are flexible, but within the context of high-level play and interaction, their flexibility does not extend far enough to allow a deck to occupy a large strategic space. This is because the more focused a deck is in its game plan, the better it is at executing it. As you attempt to add more game plans (occupy more strategic space), you dilute your ability to operate in any individual strategic space. In other words, your operation in any given area becomes shallower.
This is bad because against a focused deck, you will simply not be able to take advantage of the strengths of any individual strategic space, yet you still fall prey to the weaknesses. This will, of course, result in losses. This is why when you sideboard, you have to maintain your strategic space. You very rarely, due to physical limitations, have the ability to change strategic spaces, so you are forced to deal with the strategic space you are in. Strategic space is the reason Affinity should not sideboard ten counterspells to deal with combo—this plan is attempting to push Affinity outside its strategic space.
Strategic space is important in deck construction as well, however. When looking at card selection, it is important to keep your strategic space in mind. A good example of this is U/B Zombies. I tried making an initial draft of this when Dark Ascension first released (many of you may remember it in my preview article; I called it “Fishbone”). During my initial attempts, the strategic space I attempted to occupy was that of aggro-control due to the card pool’s similarity to Merfolk’s. In this attempt, I put Snapcaster Mage in the deck. Yet, despite Tiago being amazing, the card is fundamentally a poor choice for U/B Zombies.
So, why is Snapcaster Mage wrong for U/B Zombies? The answer lies in strategic space. U/B Zombies is not an aggro-control deck, but an aggro deck with disruption. These are very similar but fundamentally different strategic spaces. Snapcaster Mage is good in the former but not very good for the latter, due to it being a slow and having low impact as a threat. Mortarpod and Phyrexian Obliterator, on the other hand, are extremely efficient and high-impact threats, particularly in conjunction with the deck’s preexisting synergies. This is the sort of thing you have to look at when building decks from scratch. Often, close decks are simply in the wrong strategic space, and some small changes to card selection places them in the right one.
Case Studies
Faeries and Caw-Blade are interesting decks in the sense that they provide differing examples of how to use strategic space to your advantage. Let’s take a look at both decks. We’ll start with Faeries.
Faeries
What is Faeries’s strategic space?
That depends on where and when you are looking. At the end of the game, Faeries will almost always be hybrid control. However, because Faeries is busted, it could actually occupy a strategic space ranging from aggro-control all the way up through midrange control for the vast majority of the game. This is particularly true of the midgame (stage two). This is why it was so frustrating to play against. How did Faeries accomplish this? I’m sure you all know the answer: Bitterblossom.
We’re going to look at Faeries in two cases: without Bitterblossom and with Bitterblossom.
Without Bitterblossom, Faeries must transfer itself from hybrid-control space to aggro-control space. Faeries is forced to look for opportunities to resolve particular lynchpin spells so it can enter the aggro-control role. It does this by playing like a hybrid control deck until it can use its time components (in particular, Mistbind Clique, Sower of Temptation, and Scion of Oona) to establish a momentary time advantage. Once this is established, Faeries must rush to kill you while holding that time advantage exactly like an aggro-control deck does. It always has a limited time to do so before its tricks run out and its forward momentum is exhausted. This is largely because the individual cards Faeries uses are very fragile.
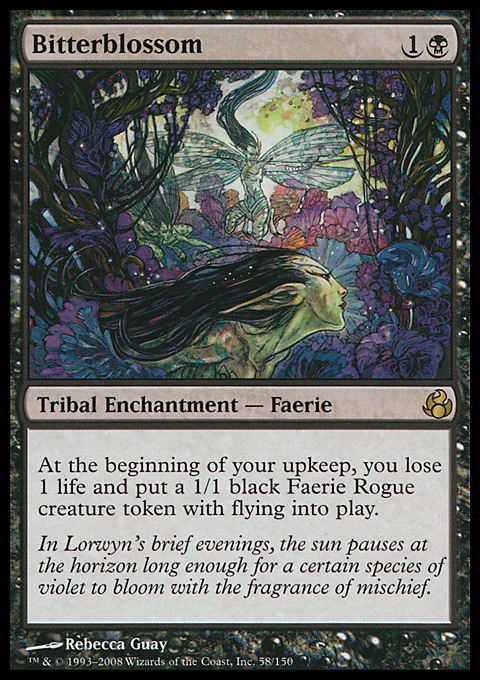
Bitterblossom’s ability to act as Forcefield often allowed it to replicate the card-advantage aspect of a control deck because it allowed the Faeries deck to find the puzzle pieces necessary to establish a time lock. Faeries would typically do this using either Ancestral Vision or Cryptic Command to set up a situation from which it could catch up on the board, thus pulling out of the control mode and into the time inevitability of the hybrid-control endgame.
Faeries was, at its core, a hybrid-control deck, and this is where the deck was strongest. However, Bitterblossom gave the deck the ability to occupy a substantial amount of strategic space reasonably well. This is why the deck was so broken. The hardest part of playing hybrid control is figuring out the position at which you can enter your time-control endgame.
Bitterblossom gives Faeries a huge amount of options both in play lines and in sideboarding, giving it huge flexibility in how it enters that endgame. This is where the phenomenon of he-always-has-what-I-didn’t-play-around comes from. It’s not that he has the other thing, but that he actually has both (most of the time).
What Bitterblossom allowed Faeries to do was shift strategic spaces seamlessly. It was not unbeatable, however. This is why the deck does not always operate in the hybrid-control space. It would sometimes need to use Bitterblossom in other manners and win in other ways, but it could almost invariably do so. The strength of the synergies in the deck, combined with the overall strength and flexibility of Bitterblossom, allowed Faeries to adapt by assuming the necessary strategic space and riding it to victory.
Caw-Blade
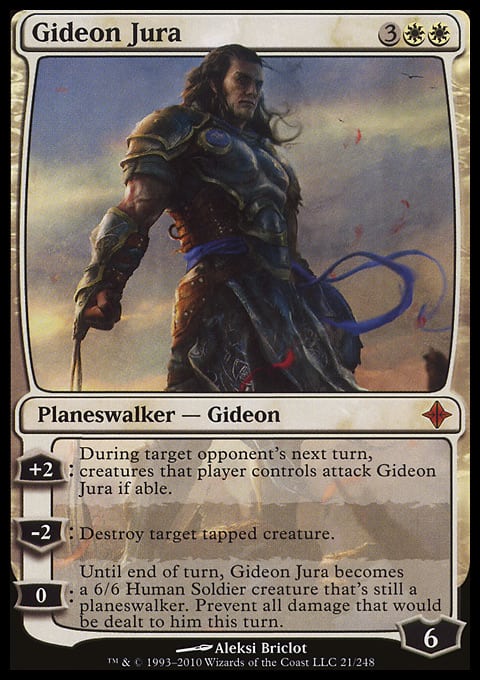
Caw-Blade, on the other hand, was dominant because its ability to execute in its own strategic space was unparalleled. Caw-Blade is one of the best, if not the best, midrange control deck Standard has ever seen. Through a wide variety of advantage engines (Hawks, Stoneforge Mystic, Jace, Gideon), Caw-Blade was extremely good at grinding out positional advantages on the board. This resulted in a huge natural inertia for the deck, which made it effectively unbeatable. Caw-Blade was so good at executing within its strategic space that you had to fight it on home turf, and that was almost invariably your loss.
Caw-Blade simply asked you: What are you going to try to cut off?
Are you going to cut off Swords? Okay, I’ll win with Gideon and Jace.
Are you going to cut off Hawks? I’ll win with Colonnade, Gideon, or Jace.
Are you going to cut off the combat step? I’ll win with Jace.
Are you going to cut off my planeswalkers? I’ll win by attacking with Colonnade and Sword-equipped Hawks.
Caw-Blade could attack you on a variety of fronts, but it rarely ever needed all of them. It would simply threaten in a variety of places, get you to show where you were weak, and then exploit that weakness. There was just no defense. You couldn’t cut off all of those angles of attack. Caw-Blade was simply too good at grinding out an advantage.
Caw-Blade is not aggro control because it does not depend on any single angle of attack to achieve victory (e.g. Merfolk lords, Delver/Geist backed by Gut Shot/Vapor Snag/Mana Leak). These are individual angles of attack; Caw-Blade attacks from multiple angles.
Caw-Blade is not hybrid control because it does not rely on time to win the game. It wins the game through overwhelming card advantage.
Caw-Blade is midrange control because it relies on those multiple angles of attack and overwhelming card advantage to win the game. Caw-Blade is an avalanche, and the only way to beat an avalanche is to be faster than it is. Of course, then Caw Blade would just play Timely Reinforcements and Day of Judgment, so . . . nice Goblin Guide?
Conclusion
Okay, where were we?
“Let me ‘splain. No, there is too much, let me sum up.”
Sullivan’s article dealt primarily with the action of decks within any given individual moment in the game. However, the principles presented therein can be extended over strategies as a whole and can be used to represent the various strategic spaces that decks can and do occupy. Each strategic space has its own methods of interacting with one or both of two primary angles of attack: time and board position (momentum is often a function of these two things).
Here is the brief TL;DR summary for you:
- Aggro fundamentally does not seek to interact with time or board position in a meaningful manner.
- Aggro control is concerned with establishing and protecting a small clock through denying an opponent time.
- Midrange beatdown decks, in general, seek to establish a board presence in the early to middle stages of the game, and then manage your board presence enough to overwhelm you.
- Hybrid control, in the end, seeks to establish complete control over the time in the game. In other words, hybrid control seeks to reach a board state from which it can halt its opponent’s forward progress (momentum) and generally win the game soon afterward.
- Midrange control seeks to have as many profitable interactions as possible with the opponent’s board state. Midrange control is frequently completely unconcerned with hampering your development and intends to win on the board in every respect.
- Control is completely unconcerned with any proactive game plan. Control is concerned with recovering lost time and board advantage in a variety of ways. In other words, control is concerned with being able to develop its resources and neutralizing an opponent’s board position.
- Faeries is overpowered because it occupies so many spaces, whereas Caw-Blade is overpowered because it is so good at being midrange control.
So, what is the practical lesson of all of this theory? That depends on what you are doing. If you are designing a deck, you need to understand in which strategic space your deck operates in order to select the best cards for that strategy. If you are piloting a deck, you need to understand the strategic space in order to really grasp your deck's plan in any given matchup.
I’ll see you later this week with some cool stuff on Avacyn Restored and the upcoming format.
Chingsung Chang
Conelead most everywhere and on MTGO
Khan32k5 at gmail dot com