With Eldritch Moon in full swing, we’ve got another Intro Pack to Meddle today, and this time we’re looking at the U/R Dangerous Knowledge. How can we make the deck more consistent and better-performing, using ordinary cards at hand?
As with all Meddlings, I’ll be following the two “golden rules” that keep this series budget-friendly and available.
First, we’ll only be adding in commons and uncommons. You won’t need to plonk down a bundle to build it; indeed, just buying the Intro Pack was the biggest investment you’ll need to worry about.
Second, to make sure the cards we use are easy to get, we can only use cards drawn from sets contained in the deck. Didn’t play during Oath of the Gatewatch? Don’t worry, only Shadows over Innistrad and Eldritch Moon cards will be considered.
Let’s open with a look at the stock deck, then start making our modifications.
Dangerous Knowledge ? Intro Pack | Wizards of the Coast
- Creatures (14)
- 1 Bedlam Reveler
- 1 Niblis of Dusk
- 1 Niblis of Frost
- 1 Pyre Hound
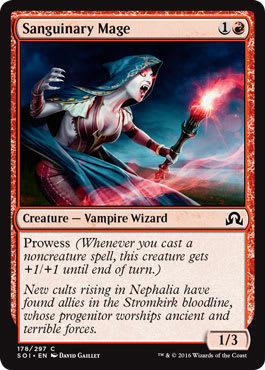
- 1 Sanguinary Mage
- 1 Silburlind Snapper
- 2 Ingenious Skaab
- 2 Mercurial Geists
- 2 Thermo-Alchemist
- 2 Weaver of Lightning
- Spells (21)
- 1 Convolute
- 1 Dance with Devils
- 1 Turn Aside
- 2 Geistblast
- 3 Galvanic Bombardment
- 1 Drag Under
- 1 Incendiary Flow
- 1 Pieces of the Puzzle
- 1 Pore Over the Pages
- 1 Reduce to Ashes
- 1 Rise from the Tides
- 2 Make Mischief
- 2 Shreds of Sanity
- 3 Take Inventory
Making the Cuts
 |  |  |
The first thing we’ll want to do is start with the creatures. The stock deck runs an unusually small number of them, just fourteen, where most Intro Packs tend to favor a rough 2/3rds creatures, 1/3 support mix. This makes sense, in a “spells matter” deck, you’re going to want to have a lot more room for spells. Otherwise, why bother?
But the best way to ensure consistent performance is to ensure consistent draws, and the best way to do that is to maximize the number of copies of your most important cards. What that means here is that we’re really only going to want playsets of about three creatures, so we have to really pare down what we start with.
For instance, the Sanguinary Mage is a fine card. A 1/3 isn’t the most aggressive statting, but with prowess you should expect to be able to swing in early and often. There are certainly enough tools available for us to build an early, aggressive prowess deck with lots of burn to back it up, and Sanguinary Mage would slot right in as a 2-drop. However, that’s not the direction we’ll be going today, so we must bid adieu to the Mage.
In that same blueprint we might look at the Ingenious Skaab, since it can become a potent 6/1 beater after just one prowess trigger. That can make for a solid closer, a heavy beater to slam home the final bit of damage after we’ve cleared the way, albeit a somewhat mana-hungry one. As far as we’re concerned, though, it can catch the same cab the Sanguinary Mage is so they can split the cost while heading for parts new. It’s just not a card we need.
Next to go is the Pyre Hound, a card reminiscent of the Kiln Fiend from Rise of the Eldrazi. Part of what made the Kiln Fiend so successful is what makes the Pyre Hound less appealing, cost. The Kiln Fiend was a superb 2-drop, which could come down as early as your second turn and soak up all the bonuses coming its way. While the Pyre Hound’s bonuses are in the form of permanent +1/+1 counters, the Pyre Hound costs 4 mana. Although there are certainly more instants or sorceries to come, it’s a grow-your-own closer in a deck that would simply rather be playing them. As a non-evasive unit, it’s also going to be running into a lot more opposition than things in the air, so while it’s a fun build-around card, it gets cut here.
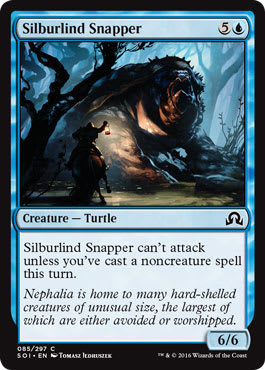
For much the same reason, we’ll be dispensing with the Silburlind Snapper. A 6-mana 6/6 is a fine card, and there’s not a lot of worry about the drawback since we’ll be casting a lot of non-creature spells. But in some ways this is potentially even less effective than the Pyre Hound since it lacks trample, rendering it quite susceptible to being chump-blocked. And that’s something we have to bear in mind when we’re building a deck whose aim is to clog up the ground game in the red zone and close out in the air.
Imagine for a moment you’re building a deck that wants to stall for time then close out with some larger non-evasive creatures. You grab a bunch of Walls, then throw in a few of your top-of-curve beaters. The Walls do perfectly, stopping every one of your opponent’s creatures in their tracks. You haven’t taken a lick of damage. Aha! Time to drop your closer and swing for the win! What happens?
Well, while you’ve been building up, so has your opponent. Since your Walls haven’t killed any of their creatures, anything they’ve played the entire game is just sitting in front of them. And while it’s been useless up to now, once you send your bruiser across the table, all of your opponent’s creatures who have been sitting around oiling their armor and sharpening their swords all game suddenly have the opportunity to earn their paychecks. They’re happy to have something to do, your opponent’s happy to at last be able to thwart you . . . Heck, the only ones not happy is your hapless bruiser whose first trip into the red zone is likely his last, and you, for now having to deal with a problem you’ve put off the entire game.
Of course, we’re not running a 24-Wall deck here, and every color has ways to answer this problem. In Green, for instance, we can use combat tricks to swing skirmishes in our favor, and whittle down the opposition. But in our color combination, Red and Blue, the question becomes, “why go through when you can just go over?” We don’t need Pyre Hounds and Silburlind Snappers, which are poor cards to draw at certain points of the game anyway (the Hound is awful late-game, and the Snapper is an opening-draw disappointment).
We have another plan in mind.
A Plan Comes Together
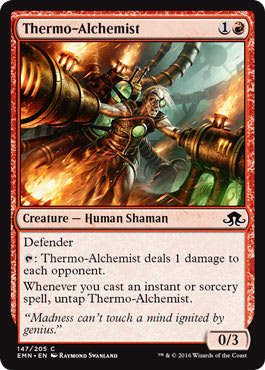 |  |  |
So what creatures do we want to hold on to, having gutted most of the deck already? The first keeper is the Thermo-Alchemist, a card which featured in a deck that put up 27 points last weekend for Pro Tour: Eldritch Moon. Sure, the Mage is technically a Wall, or at least the modern definition of one (defender), but it does more than just keep your opponent’s early-gave offense in check. The Mage is also a steady and reliable source of pinging damage on your opponent, helping whittle down their life total. In a deck with a low creature count like this, it helps to have other paths to damage. The Mage delivers, and we’ll go for a full playset.
As you can see, cards that do double-duty are prized here, and for that reason we’ll also be maxing out on Weaver of Lightning. A 1/4 with reach is a nicely defensive body that will slow down a weenie rush, since it can kill low-toughness blockers. Like the Mage, it’s a source of repeatable damage as well, but while the Mage hits your opponent, the Weaver can snipe some of their creatures. If you manage to play more than one, let the fun begin!
Next is the Niblis of Dusk. These 2/1’s with prowess are a solid value for 3 mana in this deck. Thanks to flying they’ll be difficult for your opponent to block, and we’ll have plenty of removal on-hand to keep the air lanes clear. Although they’re ostensibly the least-exciting creature we’ll be including, they’ll be workhorses that will get the job done.
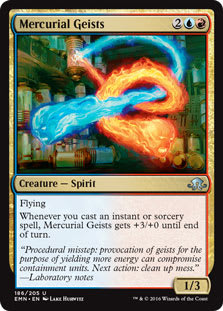 |  |  |
Much flashier are the Mercurial Geists. These Geists have a sort of super-prowess we’ve seen before on cards like Wee Dragonauts (and the aforementioned Kiln Fiend), a way to boost offensive output in the air. We only need a couple of these, since they cost 4 mana and we want to keep overall costs down. After all, the objective is to be able to cast multiple spells in a turn when need be.
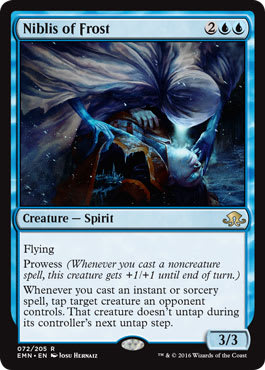
Finally, we come to the Niblis of Frost and Bedlam Reveler. If there’s an Intro Pack that had a more solid one-two for rares, it escapes me at the moment- these are that good. Like the Mage and Weaver above, things that offer repeatable effects give us the promise of exceptional value over the course of the game, and the Niblis helps keep our opponent’s creatures in check. This is especially important if they’ve managed to get some creatures in the air that might throw a kink in your plan. The Niblis’s ability to freeze opposing creatures is tremendous, and a 3/3 evasive body with prowess is also very welcome here. The card is a slam-dunk for this deck.
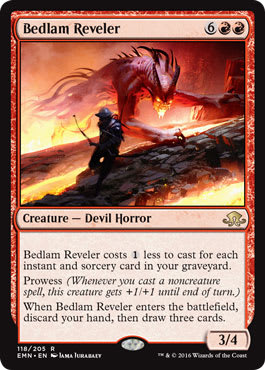
The Bedlam Reveler is also excellent, although it’s a card a little more tightly tuned for competitive environments. We discussed above that having groundling beaters wasn’t this deck’s primary strategy, preferring to avoid entanglements in the red zone altogether, and the Reveler fails that test. But as a sizable body that can refill an empty hand with three cards, it’s a superb value. Decks like this are susceptible to running out of steam, so having ways to keep the hand full is paramount.
In total, that leaves us with sixteen creatures, two more than the original deck had, but when you consider we’ll be cutting a land (most modern-day Intro Packs run more than 24), the difference is marginal.
Spelling Bee
 |  |  |
Now that we’ve fleshed out our creatures, we’ll want to figure out what we’re going to do for the spells. In some ways, the script has already been written; in a Red and Blue creature-light deck, we’ll want removal to let our few creatures do the most work. Being able to throw some burn around will also help finish off a wounded opponent, so that’s an important consideration. Finally, a little bit of energy spent being able to replenish the hand will return dividends, so we’ll want a touch of that, too. If this deck has to play off the top of its library, it’s going to be much less effective.
First, let’s go ahead and round out the playsets of Galvanic Bombardment and Take Inventory. These two cards use the ‘Kindle’ mechanic to have bigger and bigger effects the more copies you play, so topping them off is a no-brainer. Although Bombardment is creature-specific, it’s an absolute bargain of a card at 1 mana. Remember, chaining spells in bursts can be vital, such as when we want to kill off a particularly nettlesome creature with Weaver of Lightning damage.
Since we also want to offer damage to our opponent, we’ll add in a set of Fiery Temper. The ![]()
![]() cost here isn’t that much of a concern, since most of our deck isn’t as dedicated. That might mean we can’t play it on turn three, but in most cases that shouldn’t be an issue. What’s exciting about Fiery Temper is the prospect of getting it at a deep discount thanks to madness. Without any discard outlets in the deck, that won’t be viable. If only there was a card that let us discard it, while still being useful in its own right to help attain the deck’s goals. If only . . .
cost here isn’t that much of a concern, since most of our deck isn’t as dedicated. That might mean we can’t play it on turn three, but in most cases that shouldn’t be an issue. What’s exciting about Fiery Temper is the prospect of getting it at a deep discount thanks to madness. Without any discard outlets in the deck, that won’t be viable. If only there was a card that let us discard it, while still being useful in its own right to help attain the deck’s goals. If only . . .
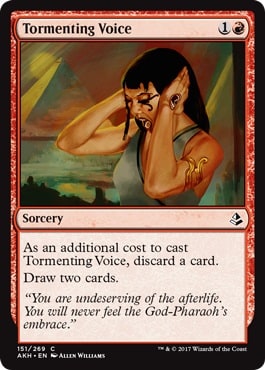 |  |
Aha! Tormenting Voice. Even without madness,Tormenting Voice is worth a look since it helps churn through your library, finding your best cards. Paired with madness, however, it goes from a late throw-in to something you’re happy to build into. Should you not need the outlet for Fiery Temper, it also helps you find a use for any extra land cards you may have drawn, and keeps the foot on the pedal. Indeed, if we didn’t have Galvanic Bombardment, we might have looked at including other madness cards like Alchemist's Greeting, since it all blends so well with what we’re trying to do with the deck.
For our last spell, we’ll take a set of Drag Under. This is one more way to keep your opponent contained, and the fact that it replaces itself in your hand seals the deal. This isn’t a blitzing tempo deck, though, so these will usually be most effective later in the game, bouncing something big, bad, and expensive, back to your opponent’s hand, and keeping you filled up with cards in your own.
Here’s how the deck breaks down.
Dangerous Knowledge, the Meddled ? Eldritch Moon Standard | Jay Kirkman
- Creatures (16)
- 1 Bedlam Reveler
- 1 Niblis of Frost
- 2 Mercurial Geists
- 4 Niblis of Dusk
- 4 Thermo-Alchemist
- 4 Weaver of Lightning
- Spells (20)
- 4 Fiery Temper
- 4 Galvanic Bombardment
- 4 Drag Under
- 4 Take Inventory
- 4 Tormenting Voice
I hope you’ve enjoyed our Eldritch Moon Meddling, and a look at one of my favorite archetypes. How would you have built it differently? I look forward to hearing your thoughts in the comments below.