Welcome to the fourth installment of our Meddling Return to Ravnica series! This week, we've been looking at the Golgari, that compellingly curious mix of both the black and the green. Thanks to the recent Creep and Conquer Event Deck, we have the added benefit of being able to take a look at the another take on the core Golgari strategy. We certainly don't want to duplicate what they're doing with the guild because: We can't (no added rares or other sets); and: What's the point? Still, we can see what Wizards has in mind for the Golgari and see if there's anything there worth taking on board as we craft our Swarm deck.

When we reviewed the deck on Ertai's Lament, we had two major criticisms. First, the removal suite was poor, consisting entirely of an Aerial Predation, two copies of Launch Party, a Murder, a Rites of Reaping, and a Serpent's Gift. Holy inconsistency, Batman! With a package like that, life for the Swarm really was like a box of chocolates. On the other hand, while we felt that the creature-flooding strategy was solid, the scavenge creatures didn't always live to their full potential thanks to high scavenge costs. Case in point here is the Drudge Beetle, which costs 6 mana to reuse from the graveyard. 6! We should mention, though, that this is testament to how much leftover power space there is for a 2-mana 2/2 in green and not so much a shortcoming on the part of the core mechanic.
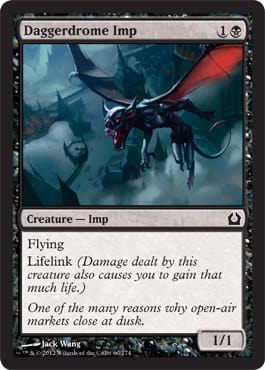
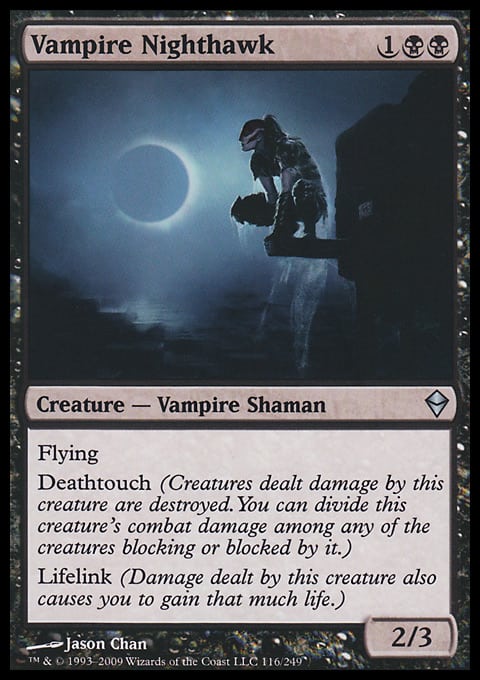
The Event Deck took this concept and turned it sideways. Rather than piling beaters on top of beaters, it argued, Why not make the most of some of the stronger evasive creatures available and be a measure more clever with the +1/+1 counter distribution? While Golgari Growth did boast a pair of Daggerdrome Imps to make it an occasionally viable tactic, Creep and Conquer doubled down by adding a full play set of Vampire Nighthawks—oof! The Nighthawks, already very strong on their own, took on a new level of menace once you started piling them high with +1/+1 counters.
So, where does that leave us? Well, as it turns out, we're in a pretty good place. Here's the stock decklist:
"Intro Pack: Golgari Growth"
- Creatures (24)
- 1 Acidic Slime
- 1 Corpsejack Menace
- 1 Dreg Mangler
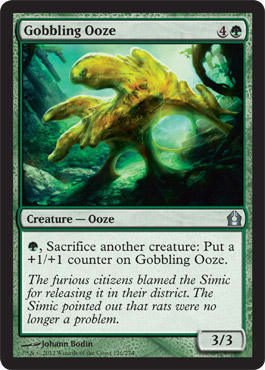
- 1 Gobbling Ooze
- 1 Korozda Guildmage
- 1 Sluiceway Scorpion
- 1 Slum Reaper
- 1 Stonefare Crocodile
- 1 Terrus Wurm
- 1 Veilborn Ghoul
- 1 Wild Beastmaster
- 2 Daggerdrome Imp
- 2 Drudge Beetle
- 2 Golgari Longlegs
- 2 Korozda Monitor
- 2 Slitherhead
- 3 Walking Corpse
- Spells (11)
- 1 Aerial Predation
- 1 Grisly Salvage
- 1 Murder
- 1 Serpent's Gift
- 2 Launch Party
- 1 Disentomb
- 1 Rites of Reaping
- 1 Treasured Find
- 2 Golgari Keyrune
- Lands (25)
- 12 Forest
- 12 Swamp
- 1 Golgari Guildgate
As always, we'll be adhering to the two Principles of Medding, which are to keep the deck inexpensive and easy to assemble. First, we won't be adding any rares or mythics. If you want to add that glossy new Deadbridge Goliath you just ripped in a booster, fantastic! For our purposes, though, we'll be working with uncommons or commons only. Second, we'll only be using cards from sets already represented in the deck: Return to Ravnica and Magic 2012.
Cards We Cut
Because we want to concentrate the deck's core strategy into as tight a space as possible, we have a lot of cutting to do. Most of the creatures we're working with aren't bad in and of themselves, but they just don't support what we're looking to accomplish. Even Grizzly Bears can start to look Eldrazi-scary when loaded with +1/+1 counters, but you're really never happy to draw Grizzly Bears. Inasmuch as we can, we should endeavor to cut out those cards that don't really earn a spot on the roster on their own.
Some of your more straightforward vanilla options also fail our litmus test. That means you, Walking Corpse, and take that Golgari Longlegs with you. Cutesy cards such as Veilborn Ghoul and Stonefare Crocodile are getting pink slips, too. On the opposite end of the scale is the Korozda Guildmage. It might be heresy to even think about, but we're moving on without her. Unlike the other Guildmages we've seen before, there's no direct synergy between the Guildmage and the guild mechanic unless you count popping your scavenge creatures to it for 1/1 Saprolings, then . . . scavenging counters onto a Saproling? The evasive ability is nice, but we'll be filling out that theme elsewhere. On that note, we'll also bid adieu to Slitherhead. It's hard to argue with the scavenge cost it brings, but in the end, a 1/1 is just not enough muscle to take up a card slot.
Finally, we arrive at the unkindest cuts of all. Not all scavenge creatures are created equal, and some of them just don't fit with what we want to do. We'll start with the obvious first choice: Terrus Wurm. Do we really want to pay 7 mana for a 5/5? Sure, it's nice to daydream about 7/8 Vampire Nighthawks, but once we're done daydreaming, we need to think about all the times when we curse finding the Wurm in our opening hand or when that crucial seventh land arrives too late to save us.
As for the noncreature spells, let's make this easy: Pick out your copy of Murder, and sweep the rest aside. At no time in our playtesting did any of these make a solid impression, and many of them have diminished effectiveness in a deck in which you're exiling your losses to convert them into counters (see: Disentomb, Treasured Find).
Cards We Add
Our rares, the Corpsejack Menace and Wild Beastmaster, are auto-includes. I haven't had great experiences with the Beastmaster, and paying 3 mana for a 1/1 just feels wrong, but it's a swingy card with a lot of fun potential. This gives us plenty of room to start rebuilding the deck.
There are two things we'll need to do to get this deck working. The first is to layer in a section of scavenge creatures; then, we want to find useful carriers for the +1/+1 tokens they'll be generating. With that in mind, we'll be rounding out the play sets of the Drudge Beetle and Dreg Mangler. This gives us nearly the same amount of scavenge options—and more usable ones.
Next, we'll want to bring in some improved targets for all these +1/+1 counters that will come from the selfless deaths of our scavenge creatures. We have three ways to do this—above, beside, and through—with the end result being that our counters make contact with our opponent's life total. There's little point in assembling some massive Voltron only to have it be chump-blocked each turn by Spirit tokens.
Next is “beside,” looking for creatures that can slip around our opponent's best-laid plans for defense. For this, we'll want something unblockable, and the Tormented Soul fits the bill. Small and cheap, these make dependable carriers for the extra tokens since they have a direct line to your opponent's life total.
Finally, if the evasive routes aren't working, we can always just try to smash our way “through.” For this, we'll be bringing in some Primal Huntbeasts. Scavenge suffers from a similar weakness as other notable mechanics such as devour and reinforce. If your opponent has a way to remove your buffed-up creature, he will have neutralized two (or more) of your cards at the cost of only one of his own. It only takes one Unsummon to undo all your hard work, so hexproof is just what the doctor ordered.
Although we've managed to keep costs down across the board, we want to give the deck a little bit of speed. Toward that end, we'll be adding in some copies of Arbor Elf. This might seem like a little bit of overkill in a reasonably priced curve, but there are two things that make this a good fit. First, they enable second-turn Dreg Manglers, which, thanks to their haste, can plow right in. Second, while our creatures aren't all that expensive, the scavenge costs are a little pricier. Having an extra dose of mana ramp helps to ensure we'll be able to afford the rebuy once we've managed to send a few of our troops to the graveyard.
In the Field

First, I dropped the number of copies of Arbor Elf from the initial play set to three. Having a little mana ramp paid handsome dividends on the battlefield. A turn-two Dreg Mangler was a dream start, while having the extra mana at the end of the game to pay for some of the more exorbitant scavenge costs could make the difference between playable and unplayable in some of the more hotly contested games.
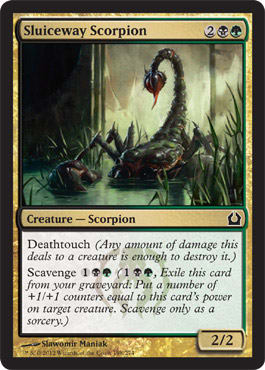
The other significant change involved our friend the Sluiceway Scorpion. I initially cut the Scorpion, identifying it as a card right on the fence between playable and unplayable. Ordinarily, I wouldn't give much consideration to a 4-mana 2/2, even with a reasonably useful ability such as deathtouch. In the Scorpion's favor, though, is the relatively inexpensive scavenge it carries—indeed, alongside Sewer Shambler, only Slitherhead is cheaper to activate out of the graveyard.
I was also able to squeeze in one more Rancor by cutting a land (the Return to Ravnica decks all run twenty-five for some reason). The card's aces here for several reasons. For one thing, it's superb on one of the Vampire Nighthawks, and it gives you a way to upgrade your troops even before the scavenge action starts. Second, though the sacrifice outlets the original deck carried helped put your scavenge beaters into the graveyard when you needed them, they also did a lot of standing around—a bit like the stereotype of highway workers. Dispensing with their services means our deck is leaner and more efficient, but it does put a bit more influence into our opponent's hands—he can choose to not obligingly kill our guys. A Rancor often helped things along a little, making even a humble Drudge Beetle not quite so humble.
At the end of it, here's what felt right for the Golgari.
"Golgari Growth II: Fungus Among Us"
- Creatures (25)
- 1 Corpsejack Menace
- 1 Wild Beastmaster
- 2 Daggerdrome Imp
- 2 Primal Huntbeast
- 2 Sluiceway Scorpion
- 2 Tormented Soul
- 3 Arbor Elf
- 4 Dreg Mangler
- 4 Drudge Beetle
- 4 Vampire Nighthawk
- Spells (12)
- 4 Murder
- 4 Ultimate Price
- 4 Rancor
- Lands (24)
- 11 Forest
- 11 Swamp
- 2 Golgari Guildgate
That's all for the Golgari! As always, I'll look forward to hearing your opinions on the deck and your experiences with the Golgari (and scavenge) overall. Thanks for reading!
Jay Kirkman