Welcome back to the dungeon, young planeswalkers. Today, we'll be examining the four decks of Planechase 2012. Wizards did a pretty good job creating decks that are interesting and fun to play, but with a few changes, I believe we can turn them into powerful weapons of destruction.
First up is Chaos Reigns. This deck is built around the cascade mechanic, which can give you spells off the top of your library. If you're lucky, you can chain together multiple spells with cascade to get even more value.
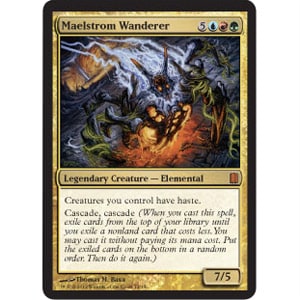
Enigma Sphinx is the next largest spell with cascade. A 5/4 with flying is a fast clock by itself, and this one will often give you a second creature at no charge. Even if your opponent kills it, it will just go right back into your library, ready to be cast again when you draw it in three turns. If you have a Maelstrom Wanderer on hand, you can even cascade into it immediately.
Etherium-Horn Sorcerer is another new fatty with cascade. Although its stats are fairly meager at 3/6, the ability to return it to your hand to cascade again and again makes up for that quite nicely. You can even use its ability to dodge removal spells and sweepers, making sure you always have at least one creature.
Although Enlisted Wurm doesn't have any fancy abilities, it does have a solid 5/5 body that will help you quickly kill your opponent. Most creatures won't be able to survive combat with this Wurm, and even if it does end up trading off with another large threat, you've already gotten value from its cascade ability.
Bloodbraid Elf has proven to be absurdly powerful in multiple formats, and although it's not quite as strong in this deck, it's still a solid creature that you'll often get for free. A hasty 3/2 isn't bad, and when it usually comes with a free mana accelerant, you're getting more than your mana's worth.
Shardless Agent is another new kid on the block in the world of cascade. Although obviously powerful when abusing cards such as Hypergenesis, it's fairly strong in this deck as well. 3 mana for a 2/2 that accelerates your mana is very attractive, and it easily outshines the likes of Borderland Ranger and Farhaven Elf. This creature will often trade with an opposing creature while pushing you toward casting your more expensive cascade cards ahead of schedule.

Congregation at Dawn is absolutely absurd with so many cascade creatures. You can cast it at the end of your opponent's turn, putting Maelstrom Wanderer, Enigma Sphinx, and Enlisted Wurm on top of your library. When you draw and cast the Maelstrom Wanderer on your turn, it will cascade into Enigma Sphinx, which will cascade into Enlisted Wurm, which will cascade into who knows what. After that, you'll still have another cascade from the Wanderer. When all is said and done, you'll be attacking for a minimum of 17 damage plus the power of any other creatures you cascaded into.
Coldsteel Heart, Fertile Ground, and Sakura-Tribe Elder are the mana accelerants that you'll be cascading into with almost every spell. Sakura-Tribe Elder can also be searched up with Congregation at Dawn if you cascade into one before you have enough mana to cast your larger creatures.
After adding in a suite of lands of every color, the deck should look something like this:
"Chaos Reigns Rebuilt"
- Creatures (19)
- 2 Sakura-Tribe Elder
- 2 Shardless Agent
- 3 Etherium-Horn Sorcerer
- 4 Bloodbraid Elf
- 4 Enlisted Wurm
- 3 Enigma Sphinx
- 1 Maelstrom Wanderer
- Spells (17)
- 3 Bituminous Blast
- 3 Congregation at Dawn
- 3 Deny Reality
- 4 Fertile Ground
- 4 Coldsteel Heart
- Lands (24)
- 2 Forest
- 2 Island
- 2 Mountain
- 2 Plains
- 2 Swamp
- 2 Shimmering Grotto
- 4 Evolving Wilds
- 4 Terramorphic Expanse
- 4 Vivid Grove
Next, we'll be taking on Night of the Ninja. This deck is all about attacking with hard-to-block creatures and then switching them out with ninjutsu. It also has a few tools to make the Ninjas that are already in play unblockable, making sure you get to trigger their abilities every turn.

Mistblade Shinobi and Throat Slitter help keep the field clear so your Ninjas can attack without fear of blockers. Put a Whispersilk Cloak on one of these, and your opponent will have a very difficult time keeping up.
Ninja of the Deep Hours and Coastal Piracy keep your hand filled with Ninjas to cheat into play. Coastal Piracy also gives your cheap, unblockable guys a lot of extra value later in the game.
Higure, the Still Wind is the lord of the Ninjas. He can make himself or any other Ninja unblockable for just 2 mana, and when you hit your opponent with him, you can search your library for any Ninja you want. This allows us to run just one copy each of some of the more expensive and/or less consistently useful Ninjas.
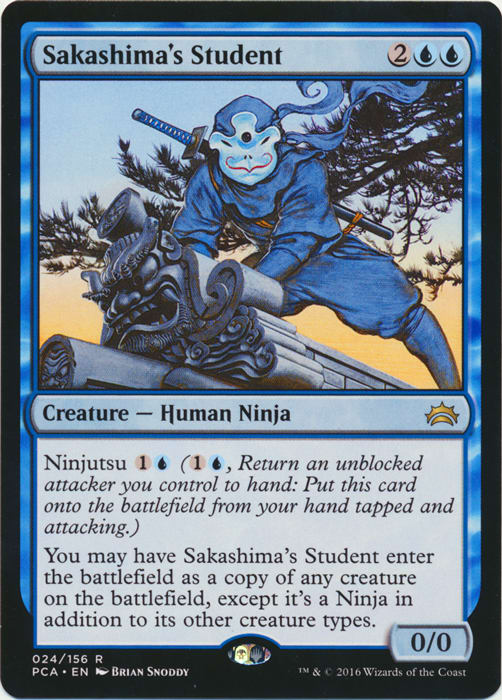
Sakashima's Student can often be a huge beating when your opponent has a large creature on his side of the field. Even after you copy his fatty, the Student remains a Ninja, so Higure can still make it unblockable, giving you a leg up over your opponent.
Silent-Blade Oni can be a huge threat by itself, not to mention the fact that it allows you to cast your opponent's spells for free. 6 mana is a lot, though, so you won't to draw this every game. Luckily, you have Higure to search it up for you when you do have 6 mana.
Whispersilk Cloak and Trailblazer's Boots make your Ninjas unblockable, and the Cloak adds shroud as well. Although your Ninjas are sure to hit when you first cheat them into play, you'll need one of these to make sure they keep pushing in damage on subsequent turns.
Quietus Spike was an excellent choice for this deck. With so many cheap, unblockable creatures to wield it, this little Equipment can end the game very quickly. Although you'll probably need to push the last few points of damage in through conventional means, the Spike can very quickly get rid of three quarters of your opponent's life total, leaving him vulnerable to even the smallest creatures.
Once you've put in some lands, you should have a list like this one:
"Night of the Ninja Rebuilt"
- Creatures (25)
- 1 Sakashima's Student
- 1 Silent-Blade Oni
- 3 Ninja of the Deep Hours
- 4 Inkfathom Infiltrator
- 4 Mistblade Shinobi
- 4 Throat Slitter
- 4 Tormented Soul
- 1 Ink-Eyes, Servant of Oni
- 3 Higure, the Still Wind
- Spells (12)
- 3 Coastal Piracy
- 2 Quietus Spike
- 3 Trailblazer's Boots
- 4 Whispersilk Cloak
- Lands (23)
- 7 Swamp
- 9 Island
- 3 Dimir Aqueduct
- 4 Jwar Isle Refuge
Third on our list is Primordial Hunger. This deck makes a swarm of tokens, and then casts a larger creature, which devours them up, growing to massive proportions. It also includes several creatures that have death triggers, although we'll be reducing this theme to focus more on the actual devouring.
Although Dragonlair Spider isn't great for one-on-one play, it's worth keeping in just for how amazing it becomes when you add in a couple more players. Making three to five tokens per turn is extremely good with devour, allowing you to skip the process of building up a decent-sized swarm and go straight to the devouring.
Preyseizer Dragon only has to devour four creatures to be able to kill your opponent in one swing. Even if your opponent can block with smaller creatures for a while, you can quickly kill him with just the direct-damage ability. This Dragon wants to kill some people, and he won't take “no” for an answer.
Mycoloth won't win you the game immediately, but it will build up a swarm of tokens massive enough to take care of it in a turn or two. If it survives even one turn, you'll also have a huge number of tokens ready to be devoured.

Thunder-Thrash Elder gives you a cheap, early threat, and it will often be large enough to win the game before your opponent even gets started. A 3-mana 7/7 is very good, even when it costs you two cards to make it. If you play one of these early, your opponent will often be stuck chump-blocking for several turns to preserve his life total.
Tukatongue Thallid is the 1-drop of choice for the deck. Although a 1/1 for 1 is nothing special, the fact that it can be devoured twice earns it a spot on the roster. Although it loses some effectiveness later in the game, it makes fast Thunder-Thrash Elder starts that much more powerful.
Dragon Fodder, Nest Invader, and Mogg War Marshal will usually fill turns two and three. Each of them gives you two creatures for 2 mana, although Mogg War Marshal can give you a third if you choose to pay its echo cost. Dragon Fodder is the simplest version of the effect, and Nest Invader tacks on the option of sacrificing the token for an extra mana if you need it.

Beetleback Chief and Kozilek's Predator each give you three creatures for 4 mana. The Predator is slightly better here, giving you the ability to take down attacking 2/2s as well as the option to get some extra mana in a pinch, but four copies just isn't enough. Although playing second fiddle to the Predator, Beetleback Chief is still very good at what it does.
Khalni Garden serves as an extra 1-drop, one that doesn't cost you a card. It gives you an extra token to get you off to a fast start, and it doesn't cost you much of anything.
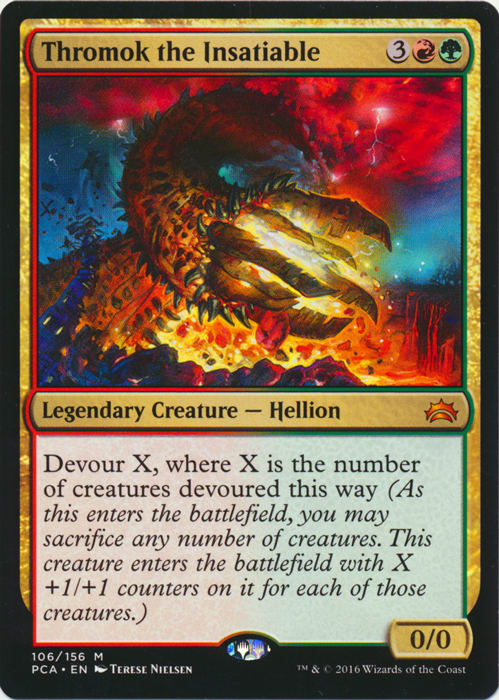
Skarrg, the Rage Pits gives your massive creatures trample, preventing your opponent from repeatedly chump-blocking to survive the onslaught. With giant creatures like Thromok that don't have any abilities to back up their size, this can be the key to winning the game.
After adding in a suite of dual lands and basics, the deck looks like this:
"Primordial Hunger Rebuilt"
- Creatures (30)
- 1 Dragonlair Spider
- 2 Beetleback Chief
- 2 Mycoloth
- 2 Tukatongue Thallid
- 3 Preyseizer Dragon
- 3 Thunder-Thrash Elder
- 4 Kozilek's Predator
- 4 Mogg War Marshal
- 4 Nest Invader
- 4 Skullmulcher
- 1 Thromok the Insatiable
- Spells (6)
- 4 Dragon Fodder
- 2 Awakening Zone
- Lands (24)
- 5 Forest
- 7 Mountain
- 2 Kazandu Refuge
- 2 Skarrg, the Rage Pits
- 4 Gruul Turf
- 4 Khalni Garden
Last but not least in tonight's lineup is Savage Auras. This deck focuses on suiting up a key creature with a number of powerful Auras, not only making it gigantic, but giving it all sorts of abilities as well.
Elderwood Scion is the main creature you'll be suiting up. Its ability makes it cheap and easy to enchant him with all sorts of Auras, and it makes him a bit more difficult to kill as well. Trample is a key ability for a creature that's going to be gigantic, and lifelink will make it easy to stay ahead—even if your opponent has some attack power of his own.
Kor Spiritdancer is a great engine card for the deck. It gives you an extra card whenever you cast an Aura, drawing you into even more Auras to cast. In addition, it's a great creature to enchant when you don't have Elderwood Scion. Although you'll have to pay full price for your Auras, each one will give you an extra +2/+2, making the process of creating a giant creature that much easier.
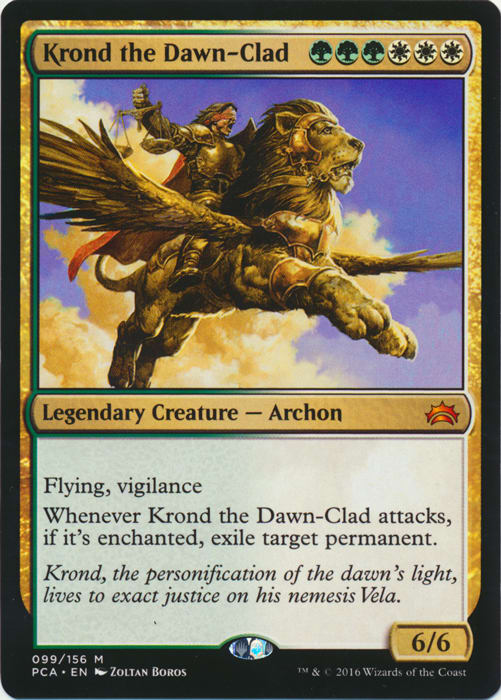
Fertile Ground will help accelerate you into an early Elderwood Scion or Krond, giving you an extra mana for the rest of the game at a net cost of only 1. As a bonus, it also allows you to draw a card from Kor Spiritdancer.

Mammoth Umbra tacks an extra 2 mana onto the cost of Boar Umbra in exchange for vigilance. When you're making one giant creature, vigilance is one of the best abilities you can give it. It lets you attack with impunity while still being able to gobble up an attacker on your opponent's turn.
Indrik Umbra grants you a massive +4/+4 as well as first strike. More importantly, however, it makes all of your opponent's creatures block, letting you slaughter entire armies in one blow. In a pinch, you can even put this on a smaller creature to make sure your giant one gets through for the kill.
Three Dreams lets you tutor up three Auras at once, making sure your hand is full of ammunition at all times. It can also grab a specialty Aura out of the toolbox if you need it.
Cage of Hands can shut down an opposing creature and return itself to your hand if a more dangerous creature comes along. It can also serve as a card-draw engine when combined with Kor Spiritdancer.
Quiet Disrepair can take care of any troublesome artifacts or enchantments you may come across and even gain you some life if you're in a bind. Although there's a one-turn delay before you can kill the problem permanent, the fact that you can tutor this up with Three Dreams when you need it is more than enough to make it worth the wait.
Faith's Fetters can stop the activated abilities of any creatures or lands that might be threatening you. It can also serve as a second Cage of Hands if you need it.

Rancor is the enchantment that just keeps on enchanting. It can give trample to your super-creature if it doesn't already have it, and if your opponent manages to destroy the creature, Rancor will simply go right back to your hand.
Swiftfoot Boots helps protect your giant creature from threats other than destruction, such as exile or bounce. It also gives creatures haste, letting you get a surprise attack in when your opponent lets down his guard.
If your opponent manages to kill your array of Auras, Retether can simply bring them all back, attaching them to a new creature of your choice. Although it won't bring back Auras that don't enchant creatures—such as Fertile Ground and Quiet Disrepair—it should be more than enough to put you back in the game.
With some assorted lands added in, you should have something like this:
"Savage Auras Rebuilt"
- Creatures (9)
- 4 Elderwood Scion
- 4 Kor Spiritdancer
- 1 Krond the Dawn-Clad
- Spells (24)
- 2 Retether
- 4 Three Dreams
- 1 Cage of Hands
- 1 Faith's Fetters
- 1 Felidar Umbra
- 1 Quiet Disrepair
- 1 Rancor
- 3 Boar Umbra
- 3 Indrik Umbra
- 3 Mammoth Umbra
- 4 Fertile Ground
- Lands (24)
- 8 Forest
- 8 Plains
- 1 Krosan Verge
- 3 Graypelt Refuge
- 4 Selesnya Sanctuary
I hope you enjoyed this visit to the dungeon. I regret to inform you that it will be your last. You have learned well, and now it is time for you to go out on your own and explore the vastness of the multiverse. Remember well what you have learned here, and you may survive the dangers that await you.
Although Enter the Dungeon is being discontinued, you can still look forward to an article from Mike every Friday. From this point forward, Price of Glory will be running weekly, rather than the previous biweekly schedule.